Description
Product Introduction
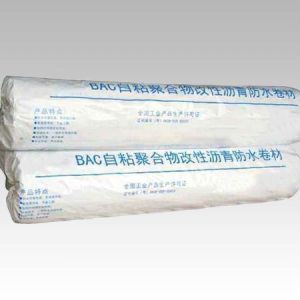
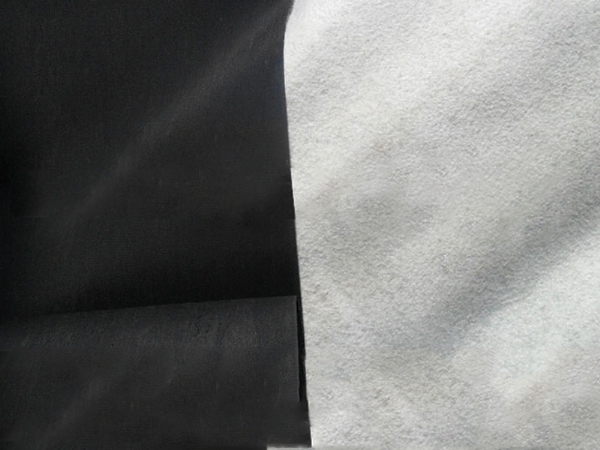
EPDM waterproofing membrane (abbreviated as EPDM membrane) is manufactured by blending EPDM rubber with appropriate amounts of butyl rubber, vulcanizing agents, accelerators, softeners, reinforcing agents, etc., through processes such as internal mixing, sheet calendering/filtering, and extrusion molding. Because the main chain of the EPDM molecular structure contains no double bonds, it is not easily broken when exposed to ozone, ultraviolet light, heat, or humidity. As a result, it exhibits excellent weather resistance, aging resistance, high tensile strength, and high elongation, with strong adaptability to the expansion, contraction, or cracking of the substrate. It is lightweight, has a wide service temperature range (long‑term use from ‑40°C to +80°C), and is a highly efficient waterproofing material. It can be applied cold, is easy to handle, reduces environmental pollution, and improves working conditions. There are two types available on the market: vulcanized and non‑vulcanized.
Product Application
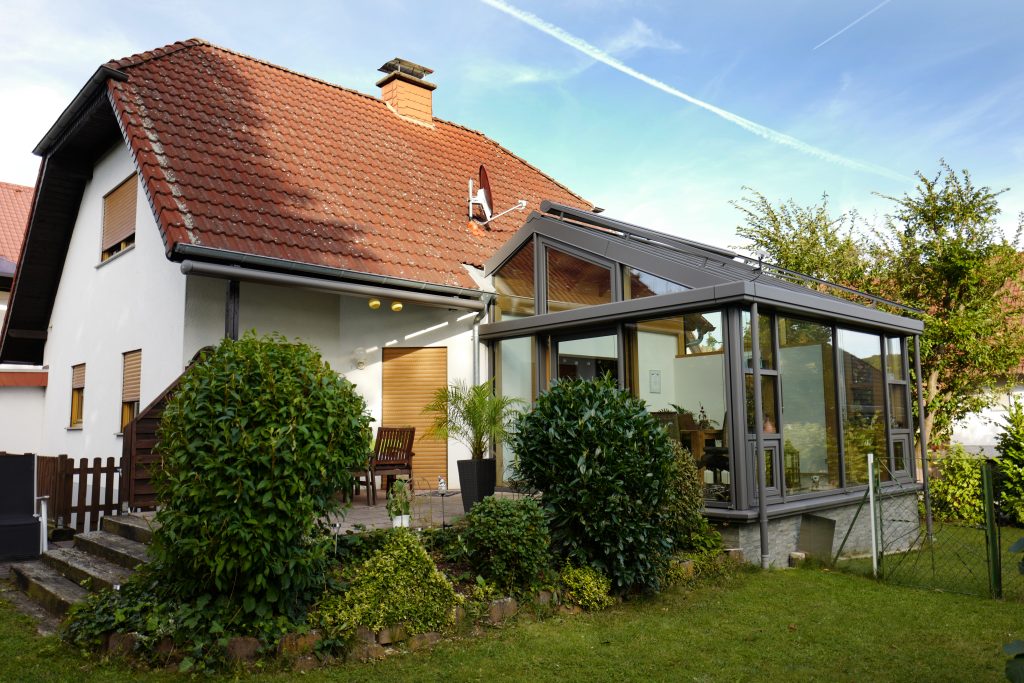
Waterproofing and seepage control for various industrial, civil, and special buildings; waterproofing for underground projects; and waterproofing for non‑exposed areas.
Construction Process
1. Basic requirements for roof substrate preparation
A. The substrate shall be leveled with a 20–30 mm thick cement mortar layer (mix ratio 1:2.5). The leveled layer shall be troweled smooth, compacted, solid, flat, and free from dusting; no unevenness, looseness, bulging, or pitting is allowed. Flatness shall be checked with a 2 m straightedge; the gap between the leveled layer and the straightedge shall not exceed 5 mm.
B. The surface of the leveled layer must be dry. The cement mortar shall have sufficient strength, with a moisture content not exceeding 9%.
C. Connections between the leveled layer and protruding roof structures (parapets, chimneys, etc.) as well as corners shall be rounded with a radius of 20 mm. A shallow recess shall be formed around the drain outlet to facilitate drainage.
D. The slope and flashing of the leveled layer shall comply with design and relevant code requirements.
2. Construction procedure
Clean the substrate → Detail treatment → Apply adhesive to membrane surface → Apply adhesive to substrate surface → Bond the membrane → Expel air and compact → Seal membrane ends and edges → Apply protective layer.
3. Operation method
A. Clean the substrate: The qualified substrate (after acceptance) shall be thoroughly cleaned again before construction.
B. Detail treatment: Special areas such as inside/outside corners, pipe roots, and drain outlets must first be treated with a detail layer. This can be done by applying polyurethane coating or by laying a strip of membrane.
C. Apply adhesive to substrate and membrane surface: Spread the membrane on a clean substrate. Using a long‑handle roller brush dipped in (401 or 404) adhesive, coat the membrane evenly, then apply adhesive on the substrate. Do not brush repeatedly over the same area to avoid gelation. Use a brush for special areas such as pipe roots and drain outlets.
D. After applying adhesive to both the membrane and the substrate, allow it to dry until the adhesive is substantially dry (generally when it is no longer tacky to the touch) before laying.
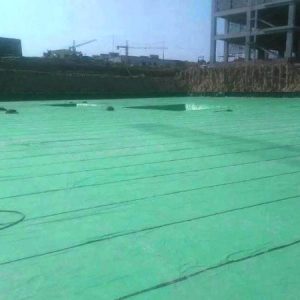
4. Roof membrane bonding
A. Start from the lower end of the drainage slope, snap a reference line. The membrane shall be oriented with its long direction perpendicular to the drainage slope direction.
B. Immediately after each roll is laid, use a soft long‑handle roller to firmly roll from one end of the membrane across its width once, thoroughly expelling air between the membrane and the substrate. If air bubbles cannot be expelled, do not cut the membrane; let the air escape on its own to avoid compromising the overall waterproofing effect.
C. Joint bonding shall follow standard specifications.
Precautions
-
Do not apply self‑adhesive membrane on frozen substrates.
-
Do not construct on contaminated substrates or substrates with high moisture content.
-
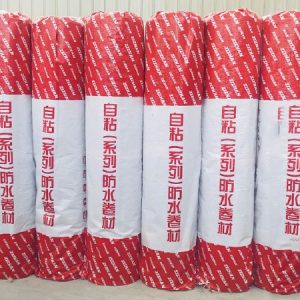
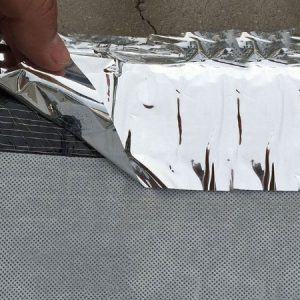
The packaging and release liner of the self‑adhesive membrane shall be removed only immediately before or during laying.
-
When not used up, seal the container of sealant tightly in time.
Storage & Transportation
-
Store materials in a dry, ventilated environment, protected from sunlight and rain. Different types and sizes of membranes shall be stacked separately.
-
Stack height shall not exceed 5 layers; for vertical storage, do not exceed 2 layers high.
-
Under normal conditions, the shelf life is one year from the date of production.